Aprilaire 80 | Our#: 197947
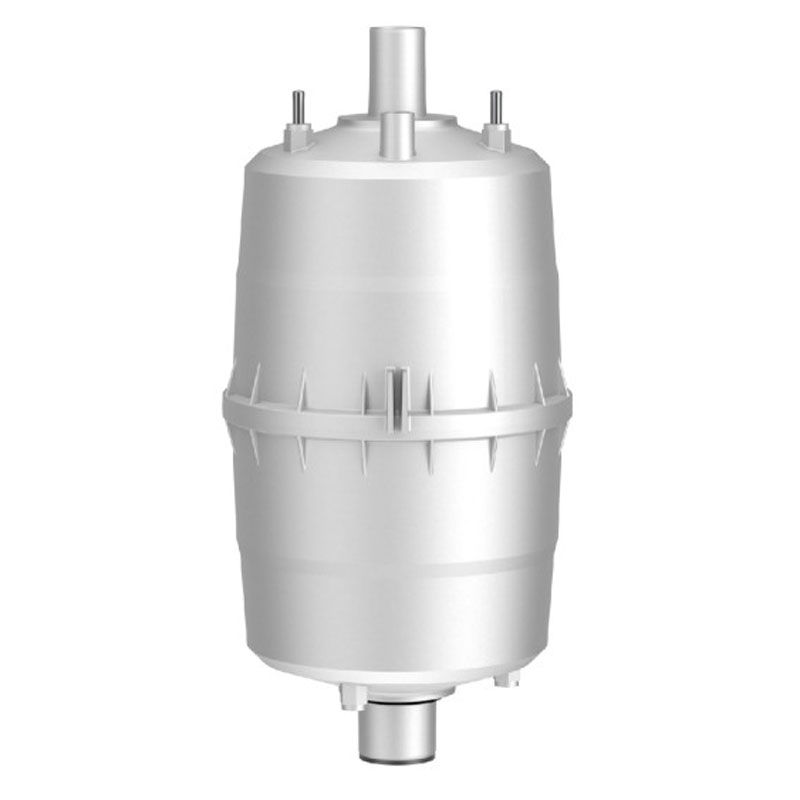
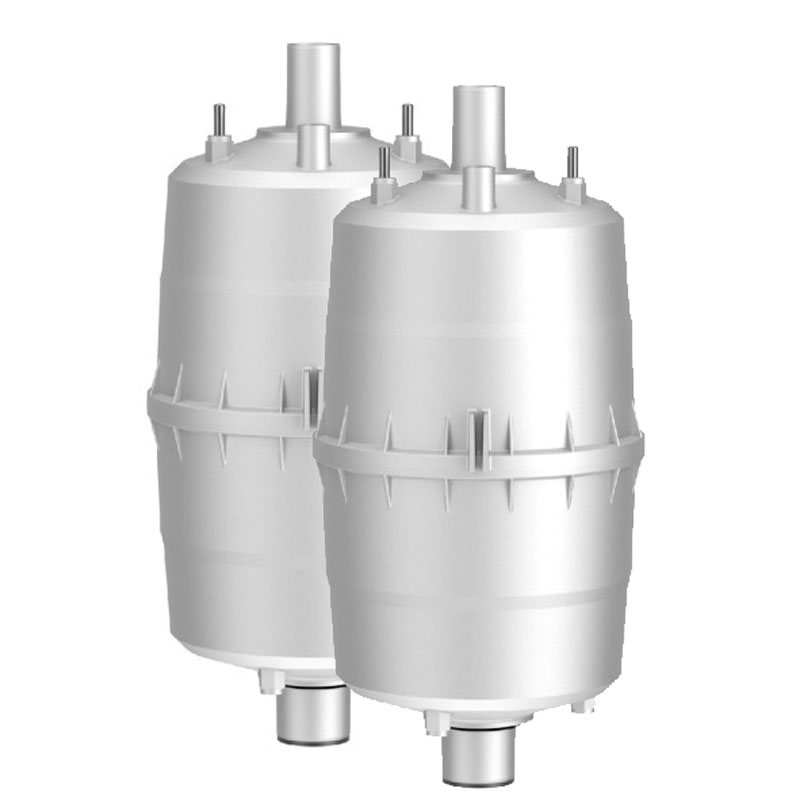
Aprilaire # 80 Steam Canister for Model 800 Humidifier, 2-Pack
Aprilaire 80 | Our#: 197947
- Fast Shipping & Free Returns
- 100% Compatibility Guarantee
2 people in your area recently purchased this product!
- Fast Shipping & Free Returns
- 100% Compatibility Guarantee
Frequently Purchased Together
Product Details
Aprilaire # 80 Steam Canister for Model 800 Humidifier
Replace the canister annually and when prompted by the "Service" light. Use Only Genuine Aprilaire Model 80 Canister.
1. Press On/Off switch to turn humidifier off.
2. Allow humidifier to drain. When the green "drain" LED stops flashing, disconnect main electrical power to humidifier.
3. Remove front panel.
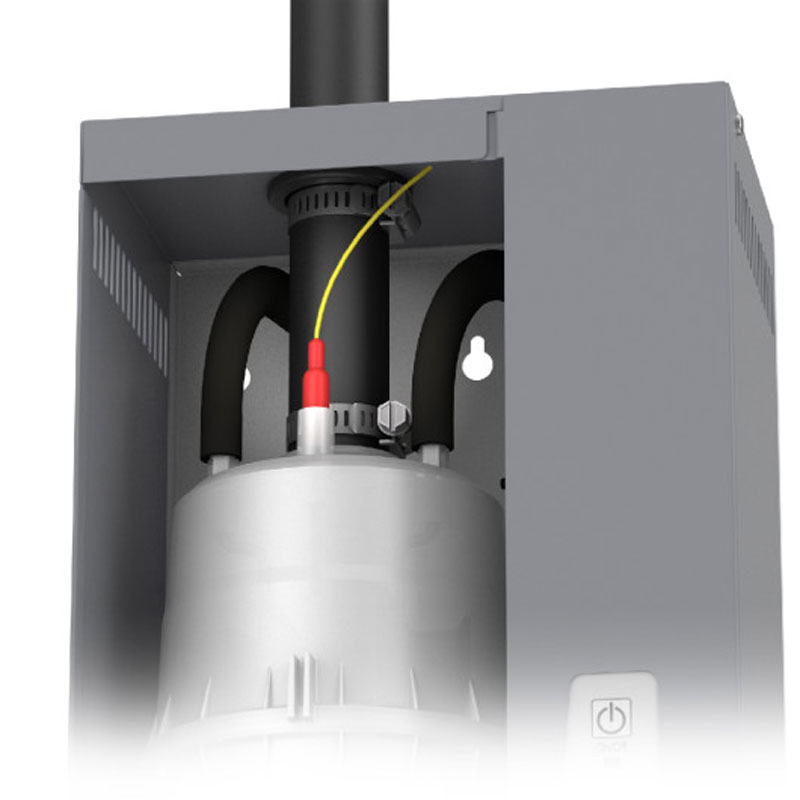
4. Pull three wires off posts on top of canister. (Two large electrode conductors and one water level probe conductor.)
5. Loosen hose clamp at top of canister.
6. Slide hose off top of canister.
7. Slide canister up and out of drain assembly. Discard canister.
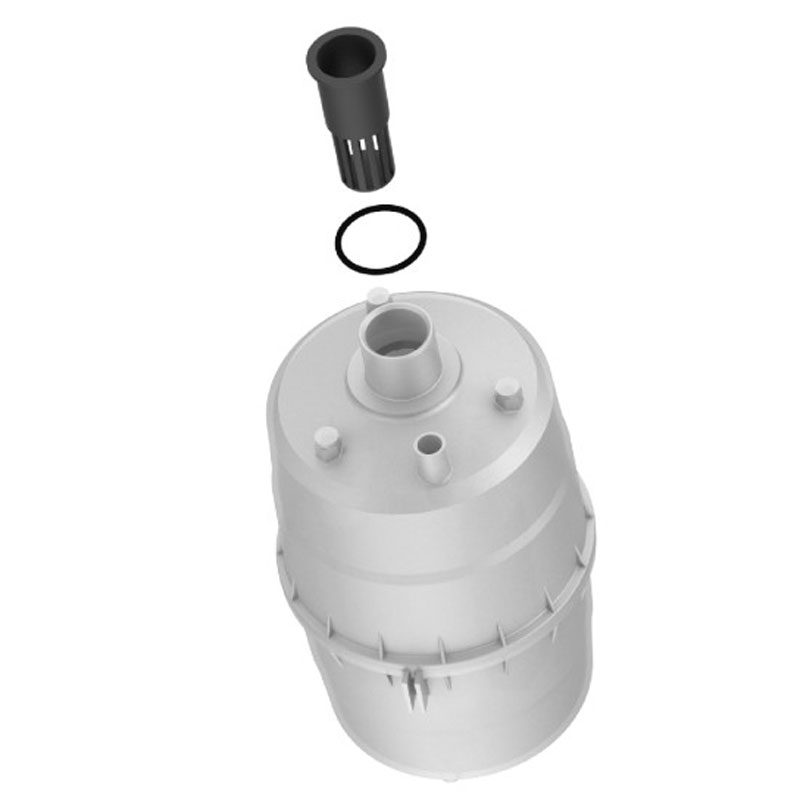
8. Remove o-ring from drain assembly using small screw driver.
9. Inspect drain assembly and remove any debris. See drain valve cleaning procedure.
10. Insert new o-ring into slot in drain assembly. (O-ring is provided with Model 80 canister.) Dampen o-ring with water before inserting canister.
Do not use oil, grease, or any lubricant besides water.
11. Make sure strainer is inserted into bottom of new canister.
12. Insert canister into drain assembly. Position canister with label facing outward.
13. Slip steam hose over top of canister and tighten hose clamp.
14. Reattach three wires to posts on top of canister. (Larger electrode conductors are interchangeable.)
15. Replace front panel.
16. Inspect drain line to make sure it is not blocked and has constant downward slope. Clean or replace if necessary.
17. Inspect steam hose to make sure it has no low spots and has constant upward slope from humidifier to dispersion tube in duct. If dispersion
tube is mounted below humidifier, inspect drip tee drain.
18. Restore electrical power to humidifier.
19. Turn humidifier on and verify green On/Off light is illuminated.
20. See Start-up procedure.


